
CentOS 6.5 ถูกปล่อยออกมาให้ผู้ใช้งานสามารถดาวโหลดได้เมื่อ 1st December, 2013 โดยมีให้เลือกทั้ง 32 Bit, 64 Bit มีการอัพเดทคุณสมบัติใหม่ๆ ดังนี้
- Support for sub-microsecond clock accuracy over the LAN using the Precision Time Protocol (PTP)
- OpenSSL 1.0.1
- OpenSSL & NSS Support TLS 1.1 and 1.2
- Read only support of VMDK and VHDX files
- CPU hot plugging
- Updated virt-v2v-/virt-p2v-conversion tools
- Updated drivers for Hyper-V and VMware
- LibreOffice Version 4.0.4
- Evolution 2.32
- Depreciated features are matahari, python-qmf, python-qpid, qupd-cpp, qpid-qmf, qpid-tests, saslwrapper, ruby-qpid etc.
Download แบบ Torrent สำหรับ DVD ได้ที่
- CentOS-6.5-x86_64-bin-DVD1to2.torrent
- CentOS-6.5-x86_64-bin-DVD1to2.torrent
Download แบบ LiveCD and LiveDVD ได้ที่
- CentOS-6.5-i386-LiveCD.torrent
- CentOS-6.5-i386-LiveDVD.torrent
- CentOS-6.5-x86_64-LiveCD.torrent
- CentOS-6.5-x86_64-LiveDVD.torrent
เริ่มต้นการติดตั้ง CentOS 6.5 ดังนี้
1. บูทด้วย CentOS bootable media หรือ ISO จะพบหน้าดังรูป

CentOS Boot Menu
2. ตรวจสอบ media เราสามารถเลือก Skip เพื่อข้ามได้

Media Check
3. เริ่มทำการติดตั้ง CentOS
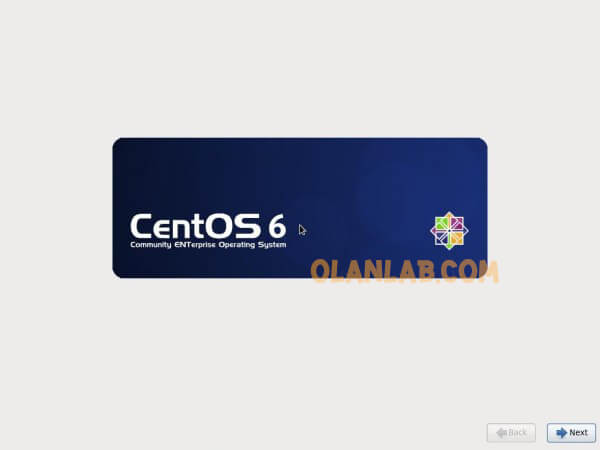
CentOS Installation
4. เลือกภาษาที่คุณต้องการ
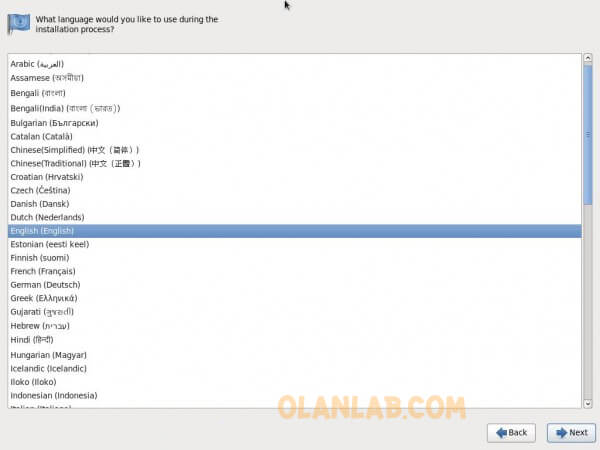
Language Selection
5. เลือกประเภทของ Keyboard
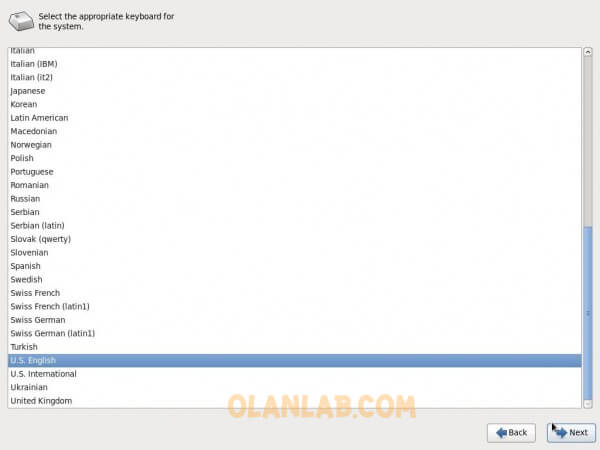
Select Keyboard
6. เลือก Storage Devices “Basic Storage Devices” และ “Specialized Storage Devices (สำหรับผู้ใช้ที่เชี่ยวชาญเป็นพิเศษ)”.
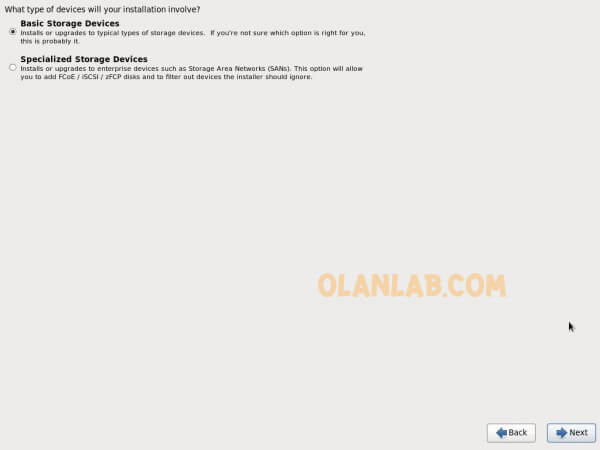
Select Storage Devices
7. มีการแจ้งเตือนเกี่ยวกับ Storage device ให้ทำการ Click “Yes, discard any data“.
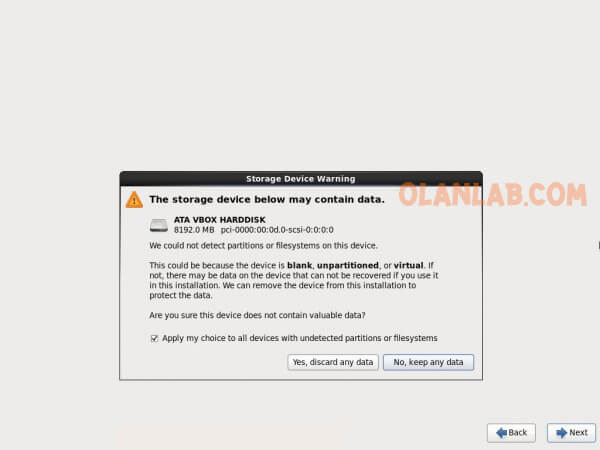
Storage Device Warning
8. ใส่ชื่อ Hostname. Click ที่ปุ่ม “Configure Network” ด้านล่าง ถ้าคุณต้องการตั้งแต่ network แต่คุณสามารถตั้งค่าเหล่านี้ภายหลังการติดตั้งได้
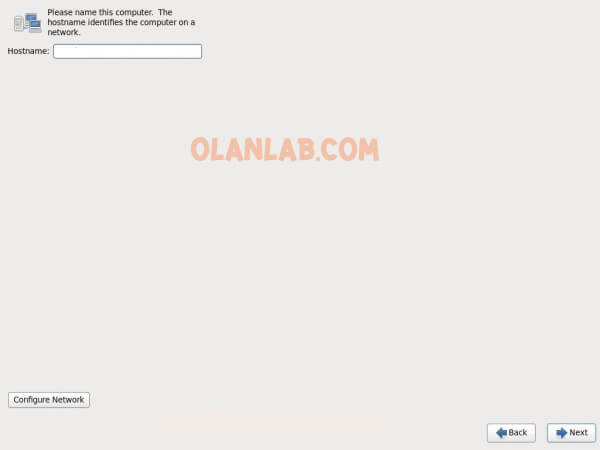
Set Hostname
9. เลือกตำแหน่ง
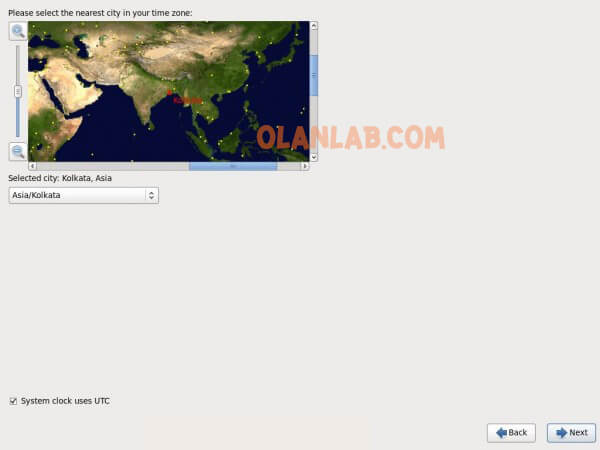
Select Location
10. ตั้งค่ารหัสผ่านของ root
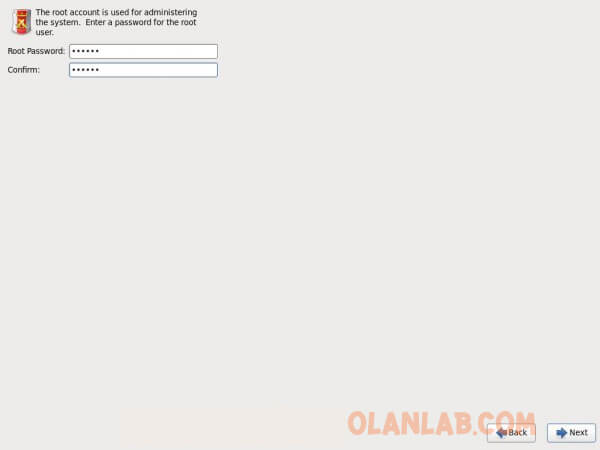
Define root password
11. เลือก “Use All Space“ Click ที่ Review and Modify partitioning layout ถ้าคุณต้องการตรวจสอบหรือแก้ไข File System ด้วยตัวเอง
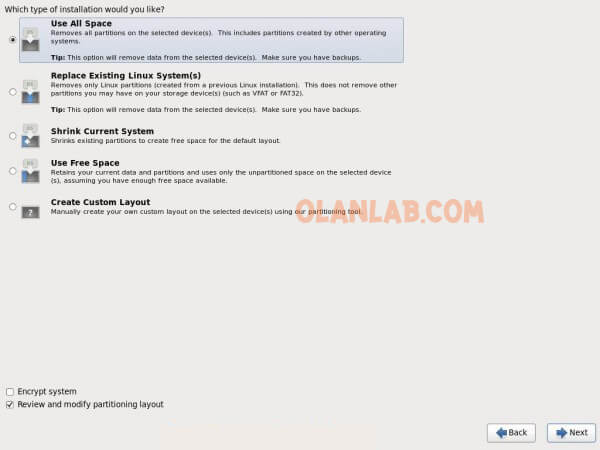
Select Installation Type
12. เลือก “Create Custom layout” ตรงนี้เราสามารถที่จะสร้าง RAID partitions และ LVM ได้
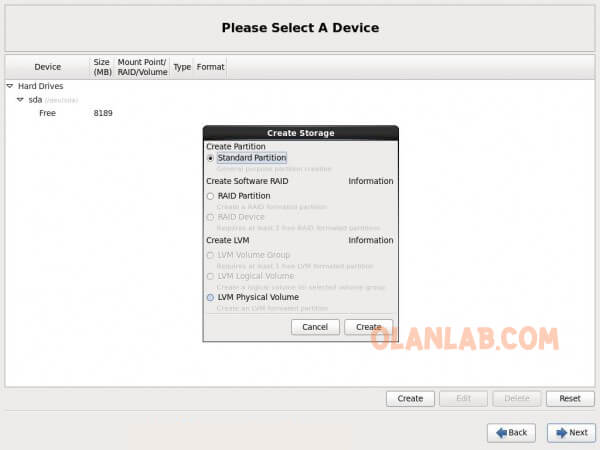
Create Storage
13. แสดงสรุปค่า Partitions
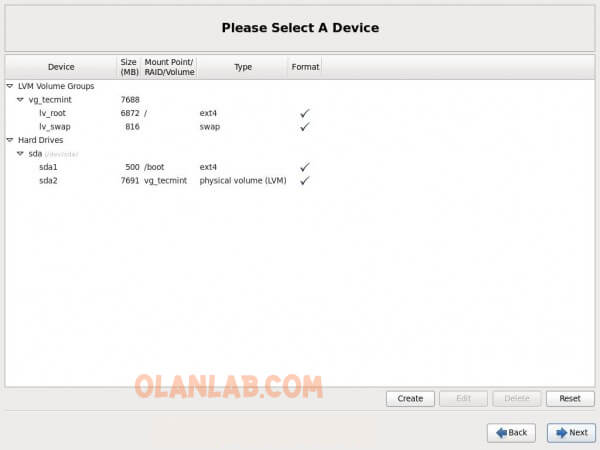
Partition Table
14. คำเตือนเกี่ยวกับการ Format Click “Format” จะทำการล้างข้อมูลที่มีอยู่เดิมทิ้งไป
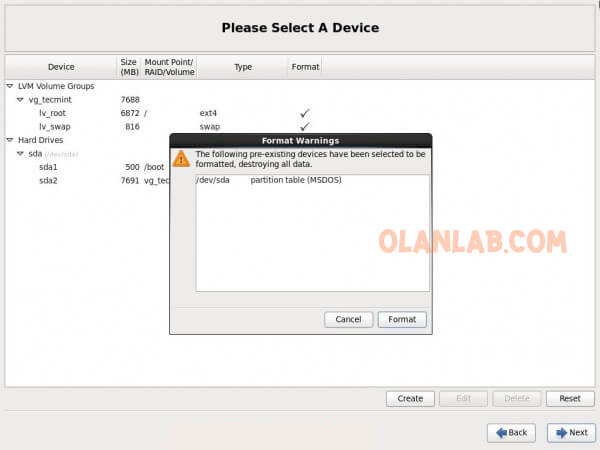
Device Formatting
15. เลือก Write storage configuration to disk.
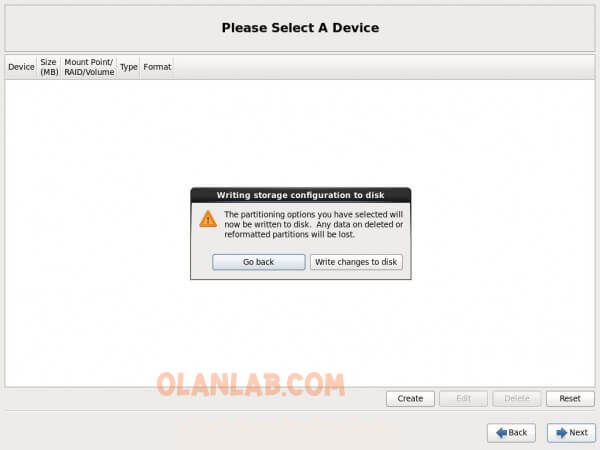
Write Changes to Device
16. Formatting drive.
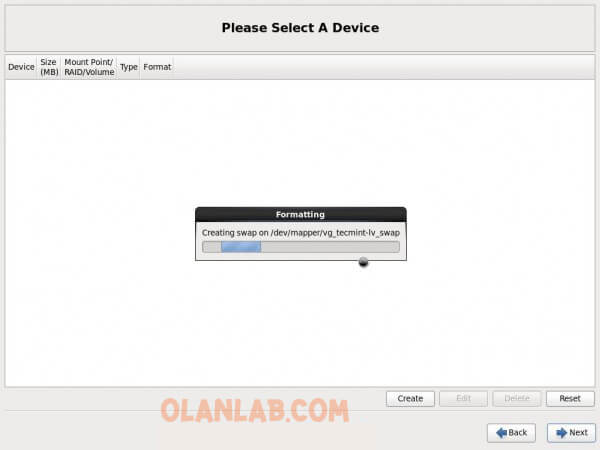
Formatting Devices
17. ยืนยันการติดตั้ง Bootloader . เลือก “Use a boot loader password” ถ้าคุณต้องการใช้ bootloader password.
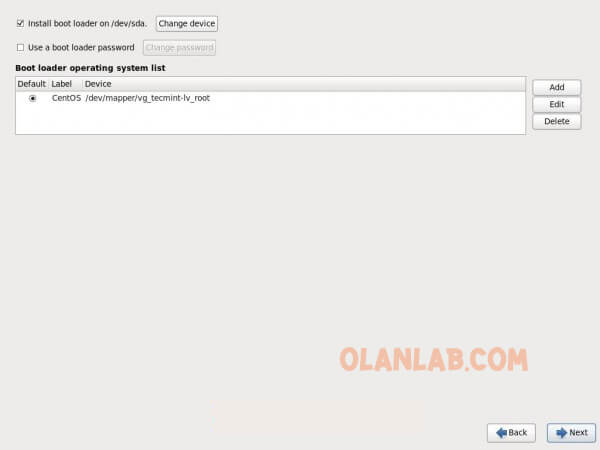
Bootloader Installation
18. เลือก Application สำหรับติดตั้ง ทำการเลือก “Customize now” เพื่อทำการเลือก Application ด้วยตัวเอง
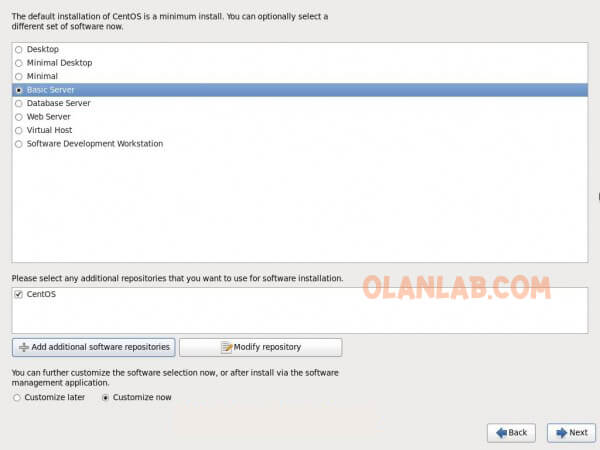
Select Installation Software
19. เลือก Application ที่คุณต้องการใช้งาน
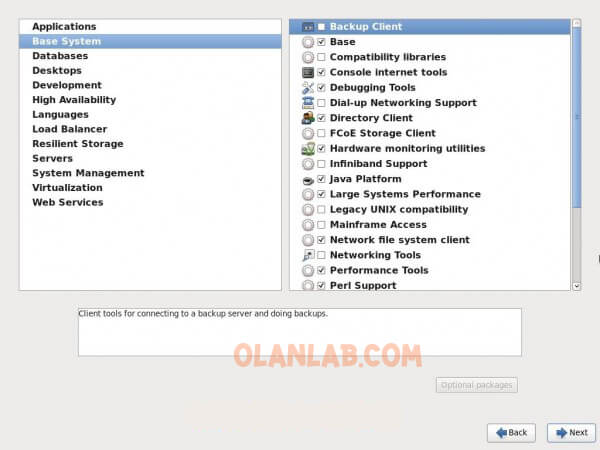
Select Installation Applications
20. การติดตั้งเริ่มต้น
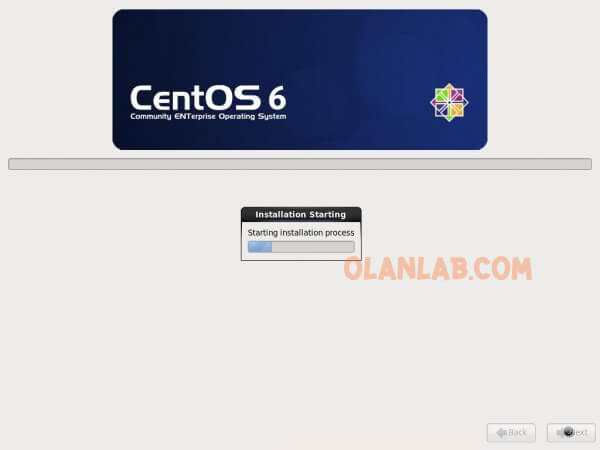
Installation Started
21. ติดตั้งข้อมูลต่างๆ จนครบ 100%
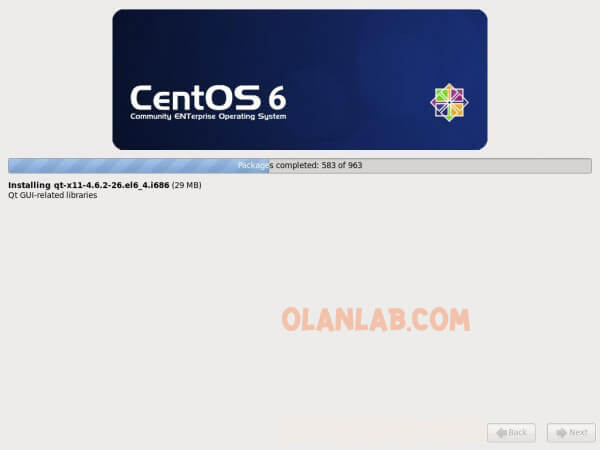
Installation in Progress
22. การติดตั้งเสร็จสมบูรณ์ สามารถเอาแผ่นที่ใช้ติดตั้งหรืออุปกรณ์ติดตั้งอื่นๆ ออกได้ ต่อมา click “reboot“.
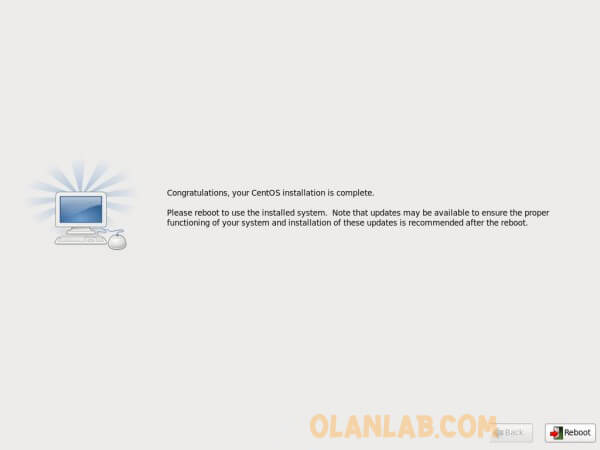
Installation Completed
23. Login Screen.
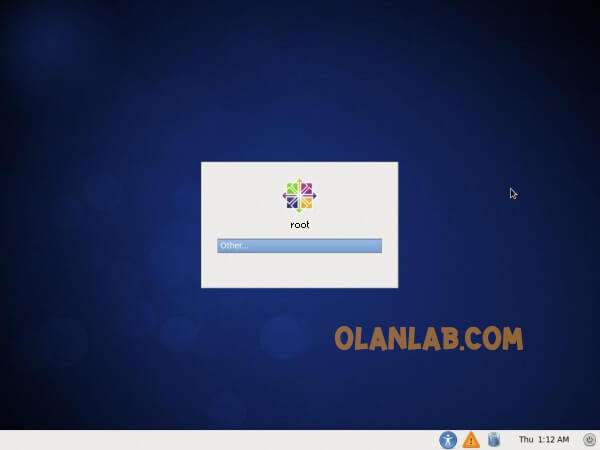
CentOS Login Screen
24. CentOS 6.5 Desktop.

CentOS 6.5 Desktop
จบบริบูรณ์
บทความการติดตั้งเวอร์ชั่นอื่นๆ
ขั้นตอนการติดตั้ง Linux : CentOS 6.3 แบบ Step By Step
ขั้นตอนการติดตั้ง Linux : CentOS 7.0 แบบ Step By Step